When purchasing solar panels for an RV there are many things to take into account, dimensions of the panel and space on the roof, power output, efficiency, your system voltage, mounting system and other parameters.
- Power Output and efficiency.
Out of all, the first specs you want to look out for are the power output in watts and the total efficiency of the panels.
These aspects dictate how much energy you can convert from sunlight into electricity to deliver to your appliances.
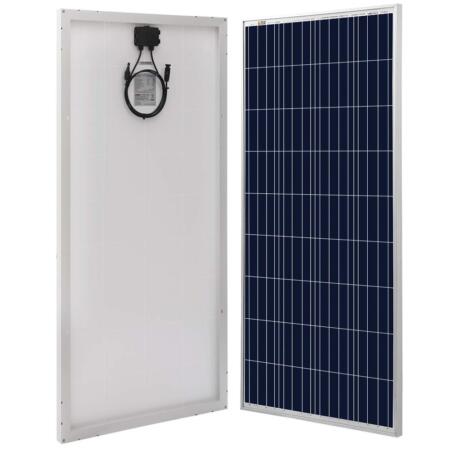
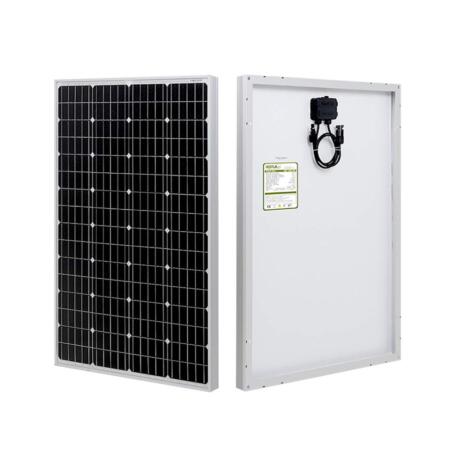
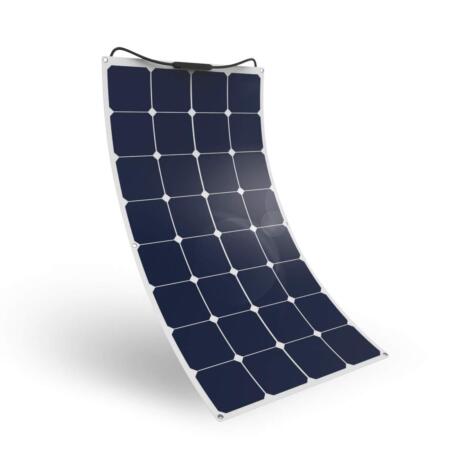
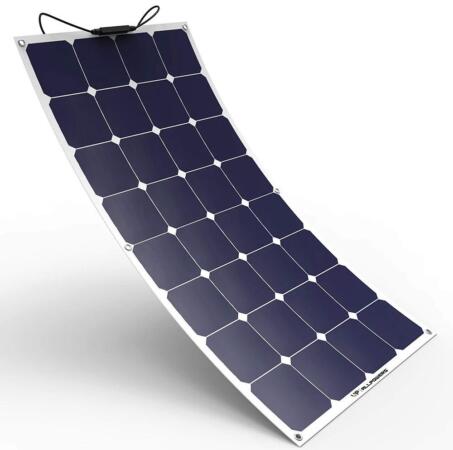
As a rule of thumb, the monocrystalline cells always achieve higher efficiencies than polycrystalline ones, but they are more expensive. Nowadays some flexible panels can achieve up to 23% efficiency, therefore, they are not the cheapest ones.
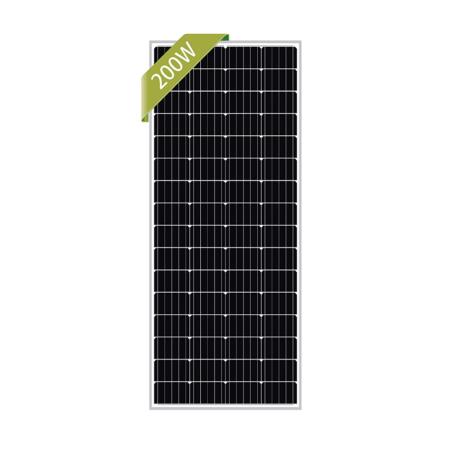
Must commercial panels are 100-watts, but as you saw on the list, there are 50-watts or 200-watts panels. The more power the panel can deliver, the bigger it needs to be to do so.
When dimensioning your solar system one key factor is to decide the working voltage of system, or as the markets names it, the nominal voltage of operation.
The key element to decide this parameter is your energy consumption.
12-volts systems are enough for most consumers, as no future grow of energy consumption is expected. A 12-volts DC system is hard to upgrade or resize once it is installed.
A common practice is to oversize your system to a 24-volts one, as the requirements for a 12-volts system are minor. As so, on the market most hardware and equipment’s are labeled for 12/24 volts systems, but you should pay attention to this feature, as not all of them are for both.
For large energy consumption systems we recommend the help of a professional to size your solar generation. If the consumption is big enough, most likely, the dimensioning will result in a 24-volts or even 48-volts system.
Keep in mind that the system voltage does not need to be exactly the voltage of the panel, however, the series/parallel configuration must be enough as to provide that voltage and the voltage of the string must be within the MPPT range of the charge controller.
Every solar installation on an RV is different, thus, it complies different requirements. There is not a one size global solution that fits all costumers.
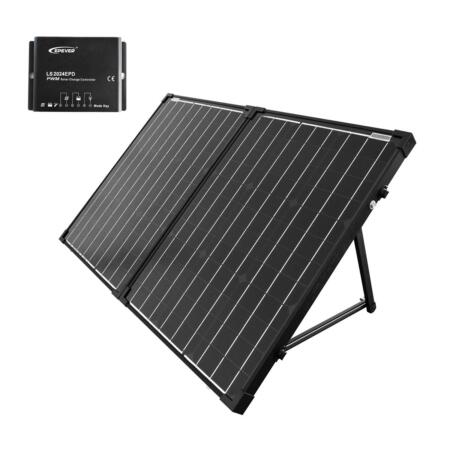
Measuring your RV available space it’s essential to decide what solar panel you want. Flexible and smaller panels are the best option for vehicles where space is limited.
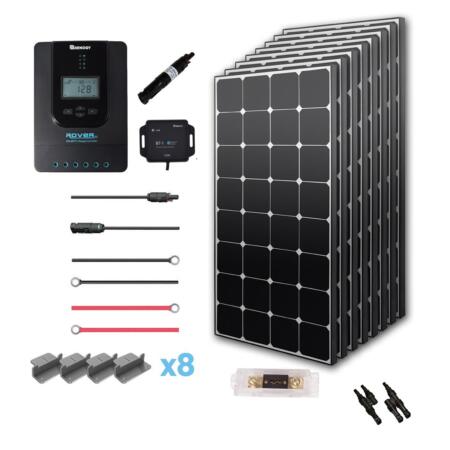
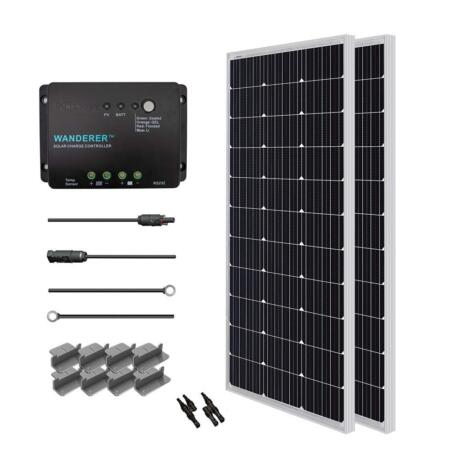
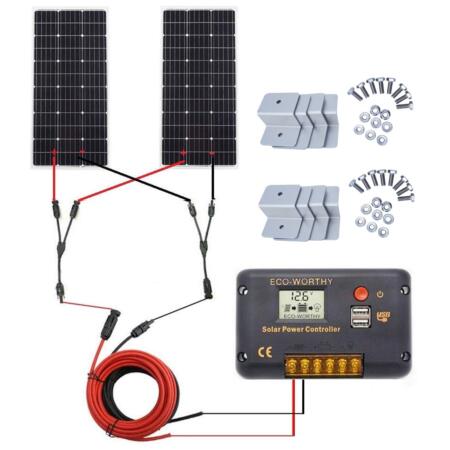
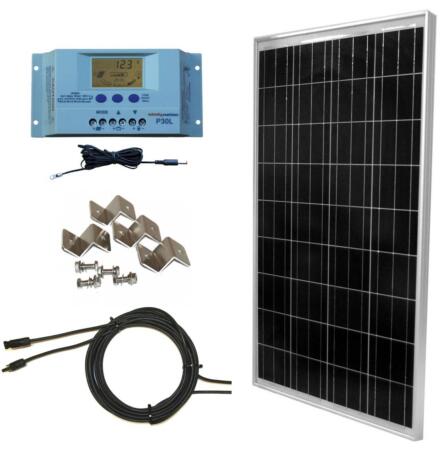
If you want a proper solar energy generation system, nowadays, the solar kits offered by many companies suit much of what you might want for your RV.
To find out the proper mounting hardware for your vehicle, we recommend you to contact your RV manufacturer and contact a certified installer to accomplish a proper and secure installation.
How to install solar panels in an RV?
Once you decide the capacity, voltage, the number of panels and the solar kit that you want for your RV, the next step is to figure out the installation process.
The next steps are set to help you through the process of mounting a rooftop solar system on your RV.
The first thing you want to look out for is to double-check that everything you need has no damage from shipping. Confirm that every component arrived without a problem, mounting hardware, solar breaker, fuse, battery and connection cables, charge controller and remote monitor.
- Measurements and planning.
Plan where to install the panels avoiding possible shading from the AC system, or other panels. Take your time to do so, as this is one of the most important parts of the process. Use the shipping boxes to double-check where you think they will best fit. It’s easier to correct problems with easy lightweight empty boxes.
Afterward, you want to choose where to locate the charge controller and fuses. You want them to be as close to the battery bank and inverter as possible, to reduce cable length (which reduces voltage drop, and costs).
The final planning step is to decide where to drill the entry for the solar cables from the panels on the roof. You want this access point to be waterproof and as close to the charger as possible, keep in mind to use a cable entry plat for this purpose. Use plenty of sealant on the access point.
- Beginning the installation.
Once everything arrived, you want to install the mounting hardware to your panels. Make sure to do as much as you can on the ground before climbing to the roof of your RV.
Drill the entry access point of the cables as planned, and run the roof wires up to the battery location. Once there, attach the DC breaker (in the off position) in-between the entry plate and solar charger. Make sure that it’s accessible as you need to be able to switch it, for safety and protection of your RV.
Mount the fuse block in-between your solar charger and the batteries with heavy-duty cable wires.
Now you should install the remote monitor where best suits you at any indoors point of your RV.
Finally, it’s time to bring up the panels.
After you made sure of every measurement, start drilling the holes for the mounting hardware of your panels.
While mounting the panels, we recommend you to use the front of the shipping boxes to cover the solar cells to assure that they won’t generate any electricity and prevent any electric shock while installing.
Once they are all mounted, you can now connect them in series or parallel, depending on your system.
To conclude, connect the panels to the prewired cables of the access point to the RV, and turn to the on position the solar breaker.
You’ve now finished installing your solar system!
You can take your RV to your prefer camping spot and enjoy your newly installed solar system.


